Create a Design in under 3 minutes!
If you are in the market for an easy way to create seamless repeats, and would like to spend a short amount of time creating them, you are in the right place! Start designing like a pro with this quick and easy video tutorial! You will need a version of Adobe Illustrator. Simply follow these quick and easy steps:
Make Money selling on WeaveUp
Here at WeaveUp headquarters, we often get questions about commissions and how they are structured. While a lot of this information can be found in our FAQ's page, we thought it might be nice to dive a little deeper into the commissions world, and, what you can do as a designer to maximize those. The first thing to note is that we work with various clients, some we call "Consumers" and some we call "Partners." While there are many differences between the two, the most notable differences can be explained below: Consumers: can be anybody on our website including yourself, independent of what type of business they are in or the purpose of their order. Orders placed by "Consumers" earn you 10% on the first 200 yards, and 3% on each additional yard after that.* Partners: are commercial clients, who have service terms with us. Our partners include from commercial manufacturers, retailers, and, everything in between. Orders placed by "Partners" earn you 3% of the sale.* The above chart explains the commission difference between sale to a consumer vs a sale to a partner. Maximize your chances There are many things you can do to maximize your earnings. Here are the top three: 1. Promote your work: We often receive requests from our manufacturing and retail partners to curate design boards for them. Our Design Team is often putting together collections to help promote your work based on their needs. The beauty of our platform is that if you design is color-editable, it makes it easy to coordinate with other designs in our website, creating unique, sometimes unexpected collections. As a designer, you can promote your work in social media and within your design circles. Here are some tips: Social Media: Instagram is a great place to add your designs, and tag @weaveup, this gives our Social Media Team a chance to find your posts, and, #repost them if possible. If you aren't following us, our Instagram Handle is WeaveUp. Click here to view. Pinterest boards are an amazing place to showcase your work and your favorite designs in our website. Our Pinterest account is full of design inspiration, designer shout outs, and links back to our pages. We are also on Facebook, so be sure to tag us when you share your work there. If you "follow" our page and you're a designer, we'll be sure to follow you back! Your WeaveUp Profile: Enrich your profile: Let customers and other artists know who you are! Upload a headshot, include a link to your website, and write a personal description. Revealing your real name and location via our profile controls creates a tighter connection with other WeaveUp users. Writing great design descriptions: Give your designs a dash of personality with an inspired description and a fun, meaningful title. Learn more about creating a great design description here. Use meaningful tags: The design tags you select during upload support our search tools; ensure that your designs are tagged as accurately as possible so that
Optimize your design’s color to be WeaveUp-ready
Disclosure: While allowing for your designs to be color-editable significantly improves your chances of selling on WeaveUp, it does not mean all designs are good candidates for Color-Customization on WeaveUp. Some designs are so rich and complex that it's best to create various color versions of the same design in Photoshop and upload them individually. This tutorial is for designs intended to have 12 colors or less, but because of the way they were created/saved now have a bit more than that. Here are a few bullet points to consider before diving in: All updated designs go through our curation process, where our design team will inspect and ensure the design is free of technical flaws {such as image quality and repeats} and is color-editable. There are multiple guidelines we follow, and the below are the results: No Technical flaws = your design can be put up for sale. Color editable = we enable this customization on our end, and, next time you see your design, you'll be able to recolor it. Technical flaws = we may reach out to you and collaborate with you on correcting it. Your design will remain unpublished while issues are resolved. In this section, we will teach you how to ensure your design is set up correctly to be color-customizable using Adobe Photoshop and Adobe Illustrator. For this tutorial, we are using the CC versions of these programs, but they are similar enough to other versions and you might still be able to follow these steps depending on your version. Photoshop: Open your raster design in Adobe Photoshop TM. Click: Image > Mode > Indexed {most likely, your image will be in RGB} An Indexed Color window will pop up. If your design contains 256 colors or fewer, "Exact" will be visible. If not, you will want to select "Local perceptual" and choose the number of colors. In this example, we show a design with 256 colors or fewer. Select the following: Palette: Exact > Colors: Will tell you the exact number, in this case, 17 > Forced: none. Note: if you count the intended actual colors on this design, the total is 12, however, since it's an RGB file created in Photoshop, the objects have "soft edges", so there are more colors. Here's a closeup: Select the following: Local (perceptual) > Colors: any appropriate amount under 12 > Forced: None > Transparency: Un-checked > OKNote: it's good to double check yourself, and zoom into your image after doing this, to ensure that your edges look clean. Removing the rest of those diffused colors will help allow your image to be color-editable in our platform. You will likely need to do some clean-ups with your pencil tool {not a Photoshop Brush!} at this point as you will likely have stray pixels floating around. Below is what the edges should change to, notice there are no stray pixels and the colors are solid and clean: Save your image as a TIFF file and now it's ready
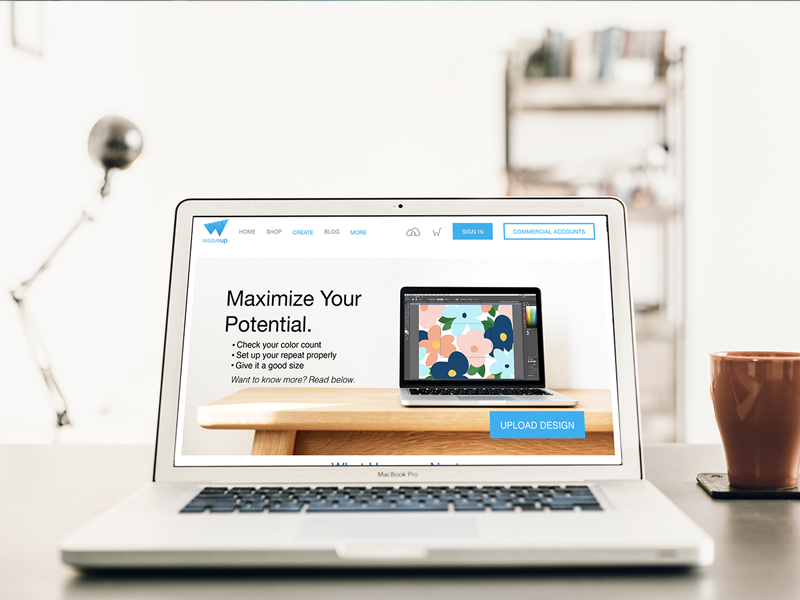
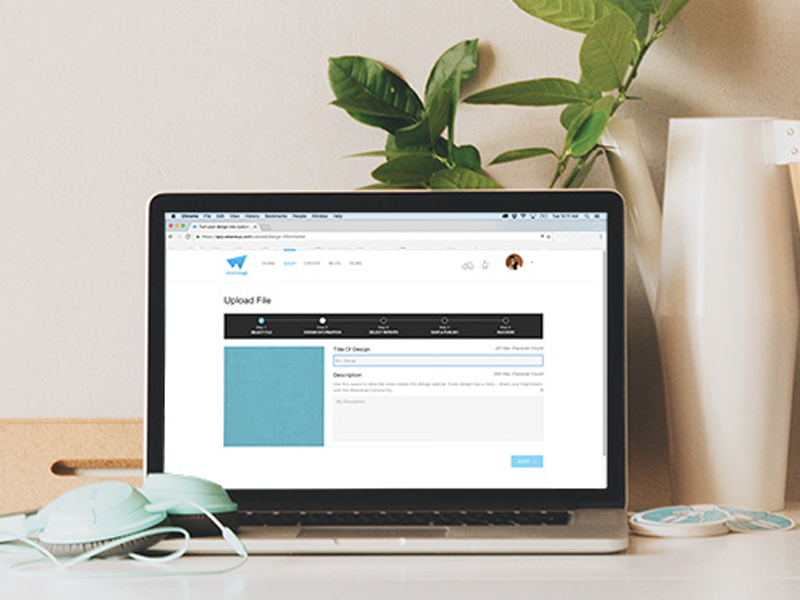
How to Upload Images on WeaveUp
Assuming you already created a gorgeous design, and, followed our art recommendation, you are now ready to upload an image onto our platform! If you haven't read these instructions, it might be best to do so, as you can ensure your design is optimized to be uploaded and customized within our platform. The process is very simple, and easy to follow: When you visit WeaveUp, click on "Create" located on our top navigation: Click on the button that reads: "UPLOAD DESIGN". { Side note: If you continue scrolling on this page, you will find other useful information that will help you upload more optimized designs }. Step 1: Upload your Design. You will be taken to the "Upload your designs" page, make sure you read through the Upload Tips, which contain very useful information about how your files should be set up. You can also find more rich information on how to set up your files on this link. Read and agree to the terms, and click "UPLOAD". Step 2: Design Information. Add a descriptive Title and rich Description, having relevant, rich information to this section, using accurate keywords within it will help your design be found by the world. Please refrain from adding colors to the information, especially if your design will be color-editable. Step 3: Select Repeats. Set up your repeats, play around with the repeat styles, most designs will be "basic" repeats, but some might also work well with the other repeats. Step 4: Save or Publish. Select between "SAVE" or "PUBLISH", don't worry, if you're not ready to make your design public, you can go back and do it later: PUBLISH: When you select this option, your design will go into our Curation Process where our Design Team will inspect it and ensure that is has no technical issues, and, if possible, allow it to be color-editable. This process can take a few days. Once your design is curated, it is then shared with the world. SAVE: will save the design within your library. but you will be the only person who will be able to view it. It will not be for sale or enter our Curation Process.
How to Save and Organize Designs
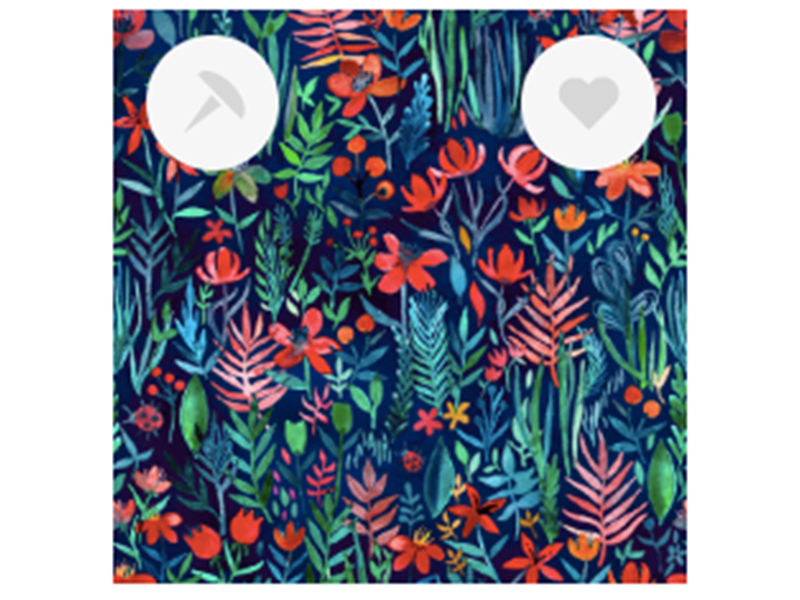
When browsing our Design Library, you've probably noticed two small icons appearing over designs. These represent two ways to save a design for later: Tacking (push pin icon), and Loving (heart icon).
Read on to learn how to make the most of these functions!

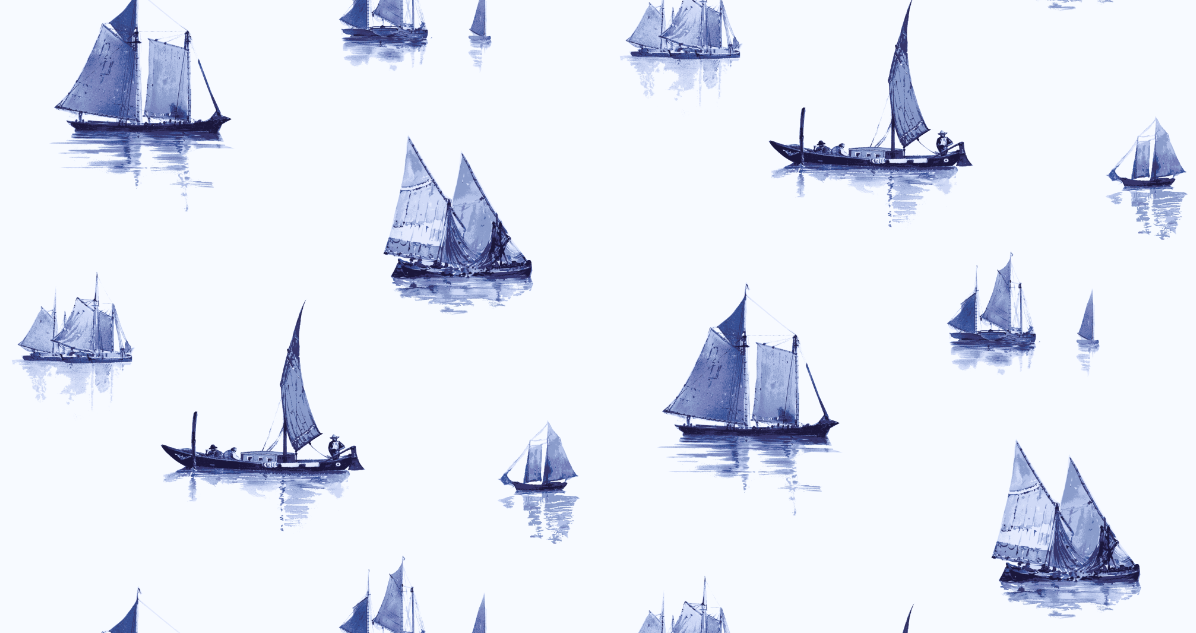
Using Public Domain Art to Create Patterns
Today on the blog, we’re exploring how you can use public domain artwork within your own pattern designs. For many of us, the thorny territory surrounding copyright can be a little confusing and downright intimidating. However, once you understand the basics, you’ll appreciate that the public domain is brimming with potential inspiration and design resources. Read on!
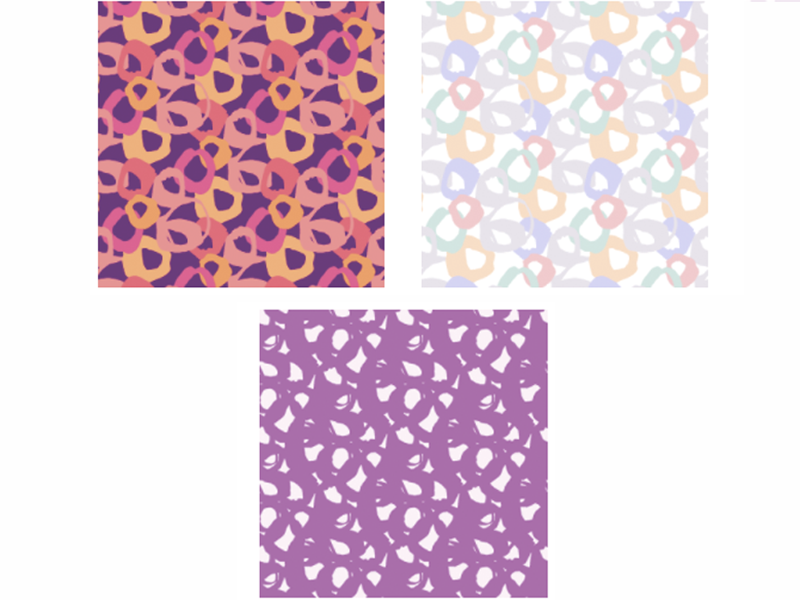
A Colorway Collection!
If you're familiar with WeaveUp, you've probably heard about our color customization technology. Most designs in our library can be color edited to fit your exact needs. To showcase the power of our customization technology, we thought we'd flex our creative muscles and create a unique collection - a single design in lots of colorways. Read on to see the whole collection!
How to Simplify Patterns
The WeaveUp customizer allows for the color editing of designs with 12 colors or less. Some designs will have more editable colors than others, allowing you to create multidimensional layers of detail and color. But - the more colors a design has, the more colors you have to hand pick, right? Wrong.
You do not have to pick a different color for every single color swatch in a design. You can repeat the same color across multiple swatches, reducing the number of colors and in many cases, simplifying the design.
When you're in the customizer tool, hover your mouse over a color swatch. You will see a small eye dropper icon. Click the eyedropper to "copy" the color. Now, you should see a small tear drop icon. Click the tear drop to "paste" the color. You can paste this color to all the chips in a design.

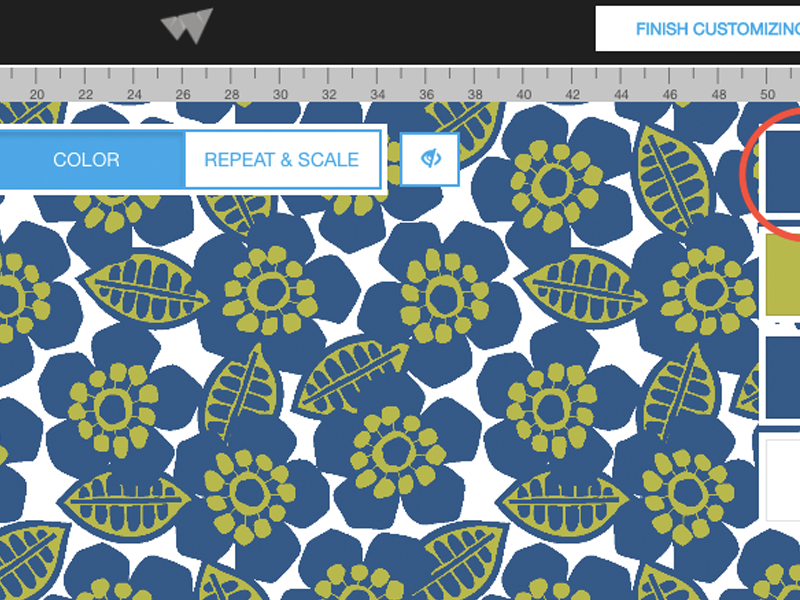
The Power of the Mirrored Repeat
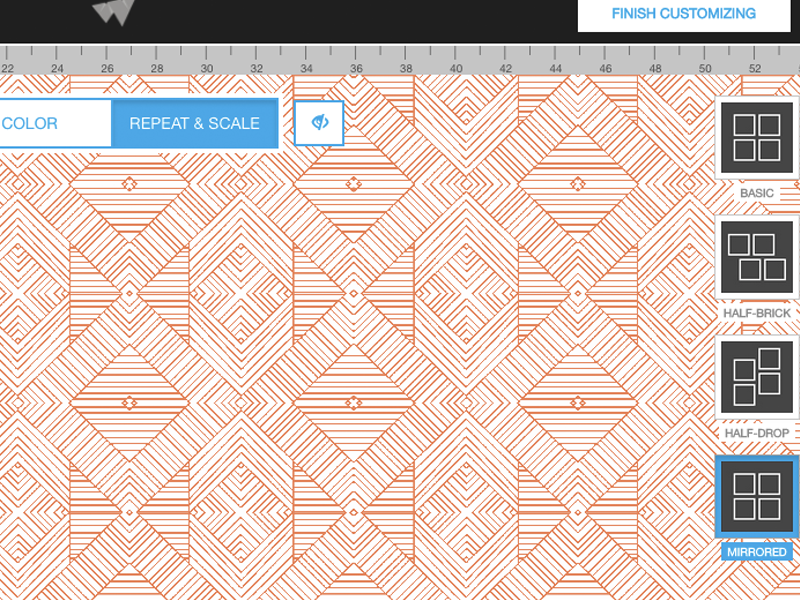
One of the coolest features of WeaveUp's customizer is the ability to change the repeat style of a design. WeaveUp offers four repeat styles: basic, half-brick, half-drop, and mirrored.
Today we're going to talk about the mirrored repeat. In the screenshot below, you can see where to find the mirrored repeat button in our customizer.

Make Your Art Work for You
Our unique Customization Tool allows customers to change the color, scale, and repeat of designs. This means one design can turn into hundreds of color, repeat, and scale variations - exponentially increasing your chance of a sale. Check out our tips for optimizing your art files for color, scale, and repeat customization.